DNT App Instructions
1. Introduction
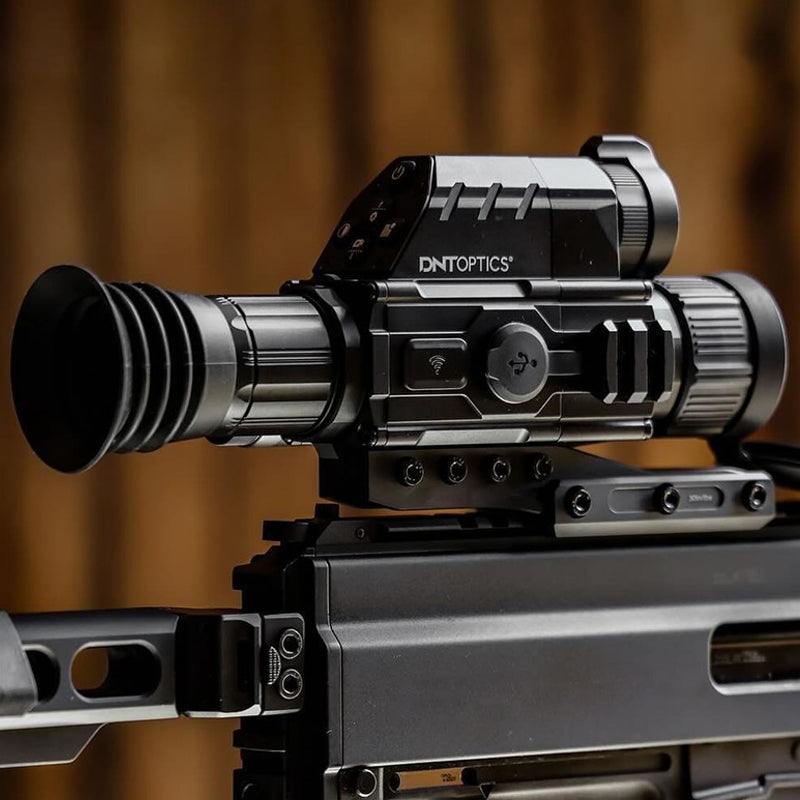
The DNT Optics app is designed for use with DNT (Arken) digital products such as the Zulus day/night scope and the ThermNight TNC225R multispectral scope.
It combines the features of the still functional Arken Optics app and the Arken Ballistic app and removes some material relevant only to Arken glass scopes.
2. Main features
The app can connect to the scope by both Bluetooth and Wi-Fi rather than having one app that connects via Bluetooth and another app that connects via Wi-Fi.
Ballistic data entry is simplified and when connected to a scope with suitable firmware up to 5 ballistic profiles can be transferred to the scope by Wi-Fi
Ballistic table transfer by Bluetooth is also available.
3. Accessing the app and connecting to a scope by Wi-Fi
Once downloaded and installed, tapping the DNT icon on your device will open.
This page - and when Add Device is tapped-this page.

Wi-Fi on the scope must be switched on and the app connected to it.
The Wi-Fi password is 12345678.
Tap on Zulus HD Digital Scope and any scopes which have previously been connected or available will be shown. When a previously connected device is re-connected or a new device connected for the first time, the status of their connection will change to Connected.

4. Connecting to a scope with Bluetooth
Bluetooth on the scope must be switched on. On the front page of the app, tap Ballisitcs to open the Ballistics page shown below and then tap on the bluetooth icon to show the connection record and any scopes availble to connect.

Tap Connect and when the connection is made, the Bluetooth icon next to the connected scope will be blue and the Bluetooth icon on the Ballistics page will also be blue.

5. Creating ballistic profiles
Go to the Ballistics page and note that the ballistic data shown is for the “Default” ballistic profile.
To create a new ballistic profile, tap on “Default” and the ballistic data for the default profile will be shown, but note the blue arrow near the top of the page.

Tap on the blue arrow and on the next page tap Add and then on the following page, enter the name you want to use for this specific ballistic profile and then tap Save Multiple ballistic profiles can be created using this method.

The ballistic data entry page now opens.

In the example above, note the following:
a. The name of the ballistic profile is CZ457SK.
b. The zero distance is 50 yards (units in use are in blue).
c. Scope height, i.e. the distance from the centre of the objective lens to the bore of the rifle.
d. Enter twist rate and direction if known, but this parameter has minimal effect except for very longrange shooting.
e. Bullet/pellet data can be entered manually or selected from the “Ammunition Database” which is
accessed by tapping on the blue arrow to the right of “Select Factory Ammo”
f. Bullet/pellet weight, velocity and ballistic coefficient are the most important parameters. Calibre
and length have little or no effect on the result of the ballistic calculation.
g. Tap Save to save the ballistic profile.
6. Creating a ballistic table and sending it to the scope by Bluetooth
On the Ballistics page, tap Ballistic Table and the page shown below opens.

This page is a Ballistic Table showing the bullet drop (or rise) at various distances based on the ballistic data entered for the ballistic profile selected. When tapped, the gear icon at the top of the page opens another page which allows the user to select the units being used, the start and finish distances for the table and what data is to be shown.
Note the blue paper aeroplane icon at the top of the screen. This indicates that the scope and the
phone are connected by Bluetooth and when the icon is tapped, the ballistic table will be sent to the scope. When Ballistic Table is selected in the Ballistic Options menu in the scope, the ballistic table will be used by the scope to calculate the point of aim.
Note that the scope can only hold one ballistic table at any time and any ballistic table sent from the app to the scope will overwrite any ballistic table already in the scope. This is the same method as used in the Arken ballistics app.
The black arrow on a white background icon at the top of the page allows the ballistic table to be exported to another device or computer as an Excel file (.xslx)
7. Sending ballistic data to the scope using Wi-Fi
The scope can hold up to 5 sets of ballistic data and these are sent to the scope by Wi-Fi. When Ballistic Calculation is selected in the Ballistic Options menu of the scope and one of the sets of ballistic data is selected for use, the scope uses that data to perform the ballistic calculation and display the point of aim.

The blue paper aeroplane next to “Sync Ballistic Data” indicates that the scope and app are connected by Wi-Fi and that ballistic data can be sent from the app to the scope.
The ballistic profile currently shown on the ballistics page is the active profile and only the active profile can be sent to the scope.
Other profiles previously created and stored in the app must be made the active profile by tapping on the active profile name and then selecting another profile from the list and pressing save.
Tapping “Sync Ballistic Data” opens a window allowing the user to choose which profile letter in the scope the profile will be sent to.
In the screenshot above, all five letters are available, and the active ballistic profile could be sent to any of them.
It is more likely that there will be ballistic profiles already sent to the scope and the names of those profiles will be displayed against the letter to which the profile has been sent.
Select the letter you want the profile to be sent to and then press OK to send the data to that letter in the scope.
Only one set of ballistic data can be sent to the scope at a time.
Any data sent from a specific letter (A-E) in the app to the scope will overwrite any data already stored in the scope with that same letter.
8. Firmware update
Keeping the firmware in the scope up to date will optimise scope performance.
When the scope is connected to the app, any firmware updates available will be indicated as shown below. Tapping Firmware Update will display the version of the update available. Tapping Update will prompt the user to switch to an internet connection.

Typically, this will be the users own Wi-Fi network or another available Wi-Fi network.
The progress of the download is shown and, when complete, an instruction to switch back to the Wi-Fi connection with the scope.

When the scope and the app are connected by Wi-Fi the firmware will be downloaded to the scope and the new firmware installed.
At the end of this process, the scope will automatically switch off and after a short delay switch on again.
It is recommended that installation of the new firmware is confirmed by going to the Version No page in “System Settings” in the main menu of the scope.

